


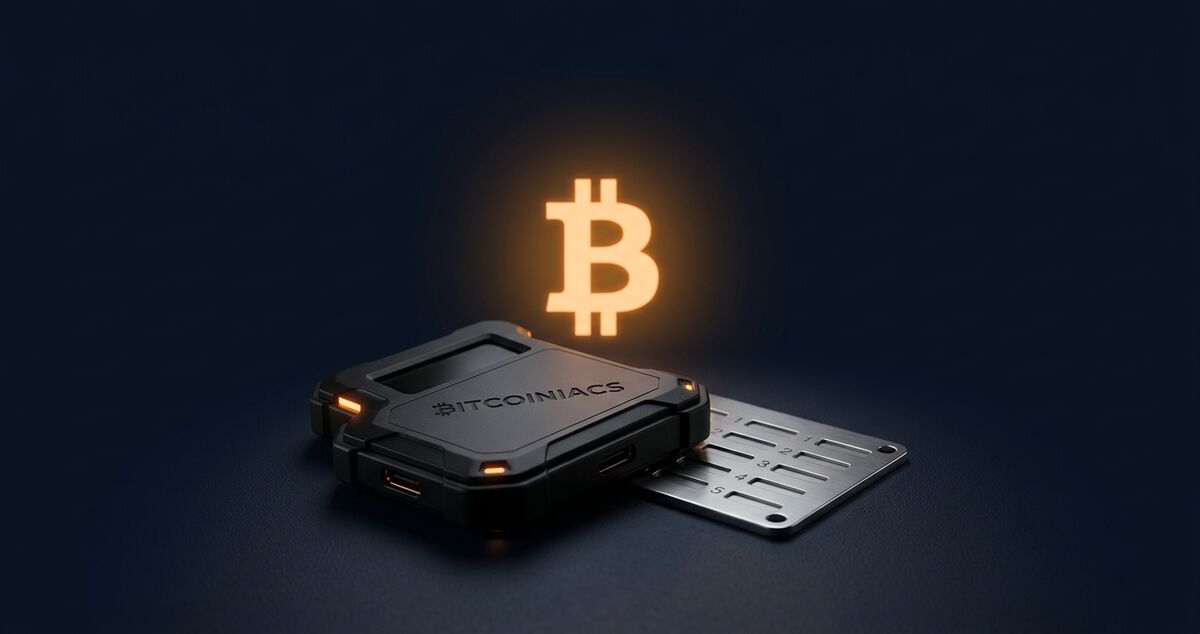
A Bitcoin hardware wallet in Canada is the safest way to hold Bitcoin you plan to keep for months or years. Once you move coins off an exchange or a Bitcoin ATM receipt and into a device you control, you stop depending on someone else’s security. The setup itself is straightforward, but the steps you take in the first hour — the device you pick, where you write down your seed phrase, and how you test the backup — decide whether your cold storage actually protects you.
This guide walks through choosing a hardware wallet available to Canadian buyers, setting it up without making the common mistakes, sending your first deposit, and storing your seed phrase so it survives fire, water, and your own forgetfulness. If you are just getting started, the easiest path is to find a Bitcoiniacs Bitcoin ATM and use it as your on-ramp — then sweep what you buy into a hardware wallet. A hardware wallet is the natural next step once you have a balance worth protecting.
Table of Contents
- A Bitcoin hardware wallet in Canada: Why it matters
- Choosing the Right Device
- Step-by-Step Setup
- Backing Up Your Seed Phrase
- Moving Bitcoin From an ATM to Your Wallet
- Frequently Asked Questions
A Bitcoin hardware wallet in Canada: Why it matters
A hardware wallet is a small purpose-built device that keeps your private keys offline. Your Bitcoin never lives on your laptop or phone — it lives on the blockchain, and the device holds the key that proves you own it. The keys sign transactions inside the device itself, so even if you plug the wallet into a malware-infested computer, the worst a thief can do is send your coins to an address they control, and only if you physically confirm it on the device.
For most Canadians, the choice comes down to two questions: do I trust the company that runs my exchange or ATM custodian? and how much would I lose if that company disappeared tomorrow? Leaving coins on a centralized platform means you are exposed to platform hacks, regulatory freezes, and the simple fact that “not your keys, not your coins.” Bitcoin.org’s getting-started guide makes the same point in its first chapter.
You don’t need a hardware wallet for every dollar of Bitcoin you own. Many regulars at our Bitcoin ATM locations across Canada keep a small amount in a hot wallet for spending and sweep the rest into cold storage once it crosses a threshold they care about. The threshold is personal — for some it is $500, for others $50,000 — but the discipline is the same: long-term savings belong in a device you control.
Choosing the Right Device
There is no single “best” hardware wallet. There is the one that matches your threat model. For most Canadians storing $1,000 to $100,000 worth of Bitcoin for the long term, three names come up over and over on r/BitcoinCA and r/BitcoinBeginners: Coldcard, Trezor, and Blockstream Jade. Ledger is also widely sold in Canada but the 2020 data-leak and Recover-firmware controversy have pushed a number of privacy-focused users toward Bitcoin-only devices.
Coldcard Mk4 — the Bitcoin-only choice
Made in Toronto and shipped from Canada, Coldcard is the wallet most often recommended on r/BitcoinCA for serious long-term storage. It is Bitcoin-only (no altcoin support to attack), air-gapped (you can sign transactions via microSD instead of USB), and uses a transparent open-source firmware. The big practical advantage for Canadians is that there are no customs or duty charges because it is made domestically.
Trezor Safe 3 and Trezor Model T
Trezor is the easiest hardware wallet to set up for a first-timer. The Model T has a colour touchscreen, the Safe 3 is a cheaper button-only device. Both run fully open-source firmware, support the BIP-39 standard, and integrate with Sparrow, Electrum, and Trezor Suite. The catch for Canadians is that Trezor ships from the Czech Republic, so expect to pay roughly $15 to $50 in duties plus GST/HST on delivery via DHL.
Blockstream Jade
Jade is the wallet most Bitcoin purists link to, because Blockstream is one of the most active contributors to the Bitcoin Core protocol. It supports Bitcoin-only firmware and liquid-network sidechains, can be paired with a hardware seed stored on a second Jade for multi-factor signing, and is competitively priced.
Step-by-Step Setup
Set aside 30 to 45 minutes when you are not distracted. You will be writing down a 12 or 24-word phrase that is the master key to every Bitcoin you put on this device. Treat the process like setting up a safe-deposit box, not like installing a phone app.
1. Buy from the manufacturer, never a third party
Order directly from coldcard.com, trezor.io, or blockstream.com. A sealed box from a third-party marketplace is a common attack vector — there have been documented cases of pre-tampered devices arriving with a pre-written seed phrase that funnels coins to the attacker. The extra week of shipping is worth the peace of mind.
2. Verify the tamper-evident seal
Each device has a holographic seal over the box. Coldcard’s seal is two numbered stickers; Trezor Safe 3 uses a tamper-evident bag. If the seal is missing, broken, or replaced, contact the vendor before plugging the device in. Do not skip this step.
3. Initialize the device and generate a new seed
Power the device on, choose “Create new wallet,” and let the hardware’s random number generator produce a fresh 12 or 24-word BIP-39 phrase. The wallet will display the words one at a time. Write each one down on the supplied paper card in order. Do not type the words into a phone, laptop, cloud note, or password manager — the entire security model collapses if those words ever touch an internet-connected device. The BIP-39 standard that defines this phrase format is openly documented if you want to understand exactly what the words represent.
4. Set a strong PIN
The PIN unlocks the device locally. Anyone who finds the wallet has unlimited guesses if there is no PIN — physically extracting the seed from a hardware wallet is hard, but brute-forcing a 4-digit PIN is easy. Use the longest PIN the device allows.
5. Do a dry-run restore
After writing the seed, power the device down, choose “Restore from seed,” and re-enter the words from your paper card. If the restore succeeds and shows an empty wallet, you have a real backup. This is the single most important step in the entire setup. Several r/Bitcoin users have shared horror stories of discovering a transposed or misspelled word the day they actually needed the backup.
6. Install companion software
For Trezor use Trezor Suite; for Coldcard use Sparrow Wallet (desktop); for Jade use the Blockstream Green app or Sparrow. These are the interfaces that build and broadcast transactions. Your coins still live on the blockchain — the software just talks to your hardware wallet to sign.
Backing Up Your Seed Phrase
This is the step where most people make the only mistake that matters. Lose the seed phrase and the Bitcoin is gone forever — there is no support email, no recovery hotline. Hand it to the wrong person and they have the keys to your wallet without ever touching the device.
Use a metal backup, not paper
Paper burns. A house fire, a flood, a leaking pipe — any of these destroy paper in minutes. A steel or titanium seed-plate (Coldcard’s Steelwallet, BlockPlate, Billfodl) costs $40 to $100 and is fireproof to 1500°C. For long-term savings this is non-negotiable.
Store at least two copies in separate physical locations
One copy at home, one in a bank safety deposit box, a relative’s house, or a separate fireproof safe. The point is that no single event — a robbery, a fire, a flood — destroys both. Do not store both copies in the same building.
Consider a passphrase for high-value wallets
Many hardware wallets support a BIP-39 passphrase (sometimes called the “25th word”). It is a separate word or phrase you enter each time you use the wallet. A thief who finds your seed phrase but not the passphrase sees an empty wallet. The catch: lose the passphrase and the coins are also lost, so it must be backed up independently. The Bitcoin Wiki’s cold storage page has a good write-up of the trade-off.
Moving Bitcoin From an ATM to Your Wallet
Once your hardware wallet is initialized, the receiving address in your companion software is the destination for any Bitcoin you buy. The flow looks like this:
- Open your wallet software and copy a fresh receive address (a Bitcoin address starting with bc1q, bc1p, or 1 / 3).
- Walk up to a Bitcoiniacs Bitcoin ATM, complete the standard KYC, and paste the address into the ATM when prompted. Most ATMs also let you scan a QR code from your phone screen — use that, it removes the chance of a typo.
- Insert cash, confirm the rate, and the ATM broadcasts the transaction to the network.
- Your hardware wallet’s companion software will show the deposit after one to six block confirmations (10 to 60 minutes for Bitcoin, much faster for Litecoin).
- When you eventually want to sell Bitcoin at a Bitcoiniacs ATM, the same software signs the transaction — the private key never leaves the device.
One thing to watch: the Financial Consumer Agency of Canada reminds consumers that any crypto transaction — ATM, exchange, or peer-to-peer — is final once confirmed on the blockchain. Always double-check the address and the amount before confirming on the hardware wallet’s screen. A typo’d address is gone forever.
The full picture of how a Bitcoin ATM fits alongside cold storage in a long-term strategy is laid out in our companion piece on why Bitcoin ATMs remain the smartest way to buy and sell crypto. The short version: ATMs are the on-ramp, the hardware wallet is the vault.
Frequently Asked Questions
Do I really need a hardware wallet if I only own a small amount of Bitcoin?
It depends what “small” means to you. Hot wallets (mobile and desktop) are fine for amounts you would carry in a regular wallet. The moment the loss of the coins would meaningfully affect you, the upgrade to a hardware wallet starts paying for itself — a Coldcard or Trezor costs less than one transaction’s worth of hardware-wallet-grade security, and it lasts a decade. Reddit’s r/BitcoinCA threads on cold storage repeatedly converge on the same threshold: when your stack reaches a few thousand dollars, the cost-benefit flips in favour of cold storage.
What happens if I buy a hardware wallet from Amazon or eBay and it has been tampered with?
You would notice the broken or missing tamper-evident seal during the unboxing step. If the device is pre-initialized with a seed phrase written on a card inside the box — stop. A genuine hardware wallet is shipped blank and generates a fresh seed on first use. Returning the device and ordering directly from the manufacturer is the only safe response. Several r/ledgerwallet threads detail exactly this scam, including DHL customs-clearance tricks that swap the box in transit.
Can I import my hardware wallet’s seed into another wallet later?
Yes — this is the whole point of the BIP-39 standard. The 12 or 24 words generated by a Coldcard will restore a working wallet in Trezor Suite, Sparrow, Electrum, BlueWallet, Blockstream Green, and any other BIP-39-compatible software. You can switch devices, switch companion apps, or recover a lost device on a new one, all by re-entering the same seed. The only thing that should be unique to one vendor is a non-standard derivation path or a non-BIP-39 seed scheme.
Is it safe to keep using the same hardware wallet for ten years?
Yes — the seed phrase, not the device, is the master copy of your Bitcoin. A working Coldcard from 2018 still signs valid transactions today. The practical limits are physical: buttons wear out, screens fade, USB ports fail. Most users keep the same device for five to seven years, then sweep the funds to a fresh device using the same seed phrase. As long as the backup survives, the device is replaceable.
What about the “25th word” passphrase — is it worth the risk?
For amounts under $50,000 the passphrase is probably overkill. Above that, r/BitcoinCA users almost universally recommend it: it turns a stolen seed phrase from a catastrophic loss into a recoverable event. The trade-off is real — forget the passphrase and the coins are unreachable even with the seed. The community’s advice is consistent: write the passphrase down on a separate metal plate, store it in a different physical location from the seed, and never put both in the same safe.
A Bitcoin hardware wallet in Canada is a 30-minute setup that pays for itself the first time you avoid a phishing site, an exchange hack, or a forgotten password reset. Pick a device built for the threat you actually face, write the seed phrase on metal in two separate locations, and run a dry-restore before you trust it with real coins. From there, moving Bitcoin from a Bitcoiniacs ATM to your own cold storage is a one-time learning curve that gives you genuine ownership of your savings.