


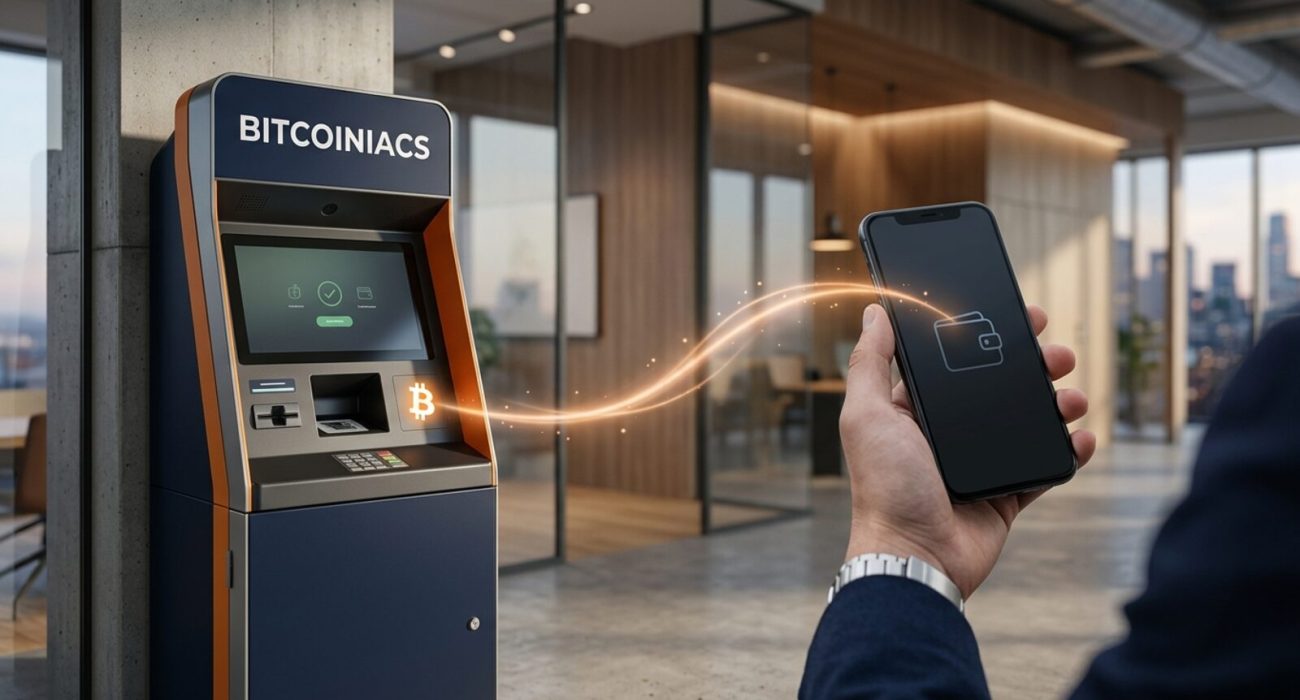
How to transfer Bitcoin to a wallet safely comes down to a short sequence: prepare the receiving wallet, copy its Bitcoin address, verify every detail, choose an appropriate fee, and track the transaction until it confirms. The buttons may look different from one wallet or service to another, but the Bitcoin network process is the same. This guide walks Canadian beginners through a transfer from a Bitcoin ATM, an online service, or another wallet without assuming advanced technical knowledge. You will learn what information you need before sending, how to avoid address and network mistakes, why a small test transfer can help, and what to check if the balance does not appear immediately. The goal is simple: make your first wallet transfer deliberate, verifiable, and easy to repeat.
Table of Contents
- What You Need Before a Bitcoin Wallet Transfer
- How to Transfer Bitcoin to a Wallet Step by Step
- How Bitcoin Addresses and Network Fees Work
- Safety Checks Before You Send Bitcoin
- What Happens After You Send Bitcoin
- Frequently Asked Questions
What You Need Before a Bitcoin Wallet Transfer
You need three things before starting: a wallet you control, enough Bitcoin to send, and the correct receiving address. If you are still choosing an app or device, compare custody, backup, security, and compatibility in our guide to a Bitcoin wallet in Canada. A self-custody wallet gives you control of the keys, but it also makes you responsible for protecting the recovery phrase and checking transfers.
Open the receiving wallet first. Select Receive, choose Bitcoin, and let the wallet create an address. It will usually show the address as a long string and a QR code. Copy the address with the app’s copy button instead of typing it. Bitcoin.org explains that a wallet uses private key material to sign a transaction before broadcasting it to the network in its overview of how Bitcoin transactions work.
Know where the Bitcoin is coming from
The sending screen may be in a mobile wallet, hardware-wallet companion app, custodial account, or Bitcoin ATM flow. Look for a button labelled Send, Withdraw, Transfer, or Send Bitcoin. If you are buying at an ATM, prepare the wallet’s receive screen before beginning. That makes it easier to scan the address and reduces the chance of copying the wrong value under time pressure.
Back up the receiving wallet first
Do not send meaningful funds to a new self-custody wallet until its backup is complete. Write the recovery words down offline in the order provided, keep them private, and confirm the wallet’s backup check. Never photograph the phrase, paste it into a website, or give it to support staff. The recovery phrase controls the wallet; the public receive address does not.
How to Transfer Bitcoin to a Wallet Step by Step
The safest routine is consistent regardless of the sending service. Move slowly, treat every address as case-sensitive data, and pause before the final confirmation. A transfer cannot be cancelled simply because you notice a mistake after broadcasting it.
Step 1: Copy or scan the receiving address
In the destination wallet, tap Receive and choose Bitcoin on the main Bitcoin network. Copy the address or present its QR code to the sending device. If you want to recognize the format before using it, review our explanation of Bitcoin address types. Modern addresses often begin with bc1, while older compatible formats may begin with 1 or 3.
Step 2: Paste the address and verify it
Paste the address into the sender’s destination field. Compare the first six and last six characters with the address shown in the receiving wallet. For a large transfer, compare the full address on the trusted device screen if possible. Malware can replace copied cryptocurrency addresses, so matching only one or two characters is not enough. The Bitcoin developer guide notes that address encoding includes error-detection features that catch many typos, but that protection does not make an address belonging to the wrong person safe.
Make sure the sender says Bitcoin or BTC on the Bitcoin network. Do not select an unrelated blockchain because its withdrawal fee appears lower. A valid-looking address on another network is not a substitute for the Bitcoin address displayed by your destination wallet. The technical background on encoded addresses and transaction outputs is covered in the Bitcoin developer documentation for Bitcoin transactions.
Step 3: Enter the amount and review the fee
Enter the amount in Bitcoin or Canadian-dollar equivalent. The sender should show the amount, destination, network fee, and total before you approve. Wallets may offer economy, normal, or priority fee options. Normal is usually the sensible default when the transfer is not urgent. Do not choose an unusually low custom fee unless you understand how your wallet handles delayed transactions.
Why the amount does not set the network fee
A Bitcoin network fee is based mainly on transaction data size and the fee rate needed for confirmation, not simply on the dollar value sent. One transfer of a larger amount can cost less than a smaller transfer that combines many previous wallet outputs. Our guide to Bitcoin transaction fees in Canada explains fee rates, congestion, and confirmation priority in more detail.
Step 4: Send a small test, then complete the transfer
For a new wallet or a substantial amount, send a small test transaction first. Wait until the receiving wallet recognizes it and confirm that you can see the transaction details. Then repeat the process with the remaining amount, using a fresh receive address if the wallet presents one. This costs an additional fee, but many beginners consider it worthwhile when learning a new device or transfer flow.
Before tapping Send, apply the three-check rule: address, network, amount. Read all three from the confirmation screen rather than relying on memory. Approve the transfer only when every field matches your intention. Save the transaction ID after broadcasting; it is your public reference for tracking the payment.
How Bitcoin Addresses and Network Fees Work
A receiving address tells the network which wallet can later spend a transaction output. It is safe to share a receive address for the purpose of receiving Bitcoin. It is not safe to share private keys, recovery words, wallet passwords, or one-time authentication codes. Anyone asking for those secrets is not merely helping you find an address; they are asking for control of the wallet.
Many wallets generate a new receive address after an address is used. The old address generally remains connected to the same wallet, but using a fresh one is better for privacy. Always take the current address directly from the destination wallet rather than retrieving it from an old message, screenshot, or browser history.
On-chain transfers and confirmations
This guide covers an on-chain Bitcoin transfer. After the sender broadcasts it, the transaction usually appears as pending or unconfirmed. Miners select transactions for blocks, and each later block adds another confirmation. A wallet may show an incoming balance quickly while waiting for one or more confirmations before treating it as fully settled.
Safety Checks Before You Send Bitcoin
Bitcoin transfers deserve the same care as a wire transfer, with an added difference: there is usually no central party that can reverse a completed payment. The Canadian Centre for Cyber Security warns that cryptocurrency transactions are irreversible and that owners are responsible for protecting wallet credentials. Its cryptocurrency security guidance is a useful reminder to secure devices, passwords, and backups before moving funds.
- Generate the receive address inside the destination wallet.
- Confirm Bitcoin is selected on both the sender and receiver.
- Compare the beginning and end of the pasted address.
- Use a test transaction for a new destination or large amount.
- Never send because a caller creates urgency or claims to be an official.
- Never reveal recovery words to complete or troubleshoot a transfer.
Stop when someone tells you where to send
Scammers often coach victims through buying Bitcoin and then provide a wallet address they control. They may impersonate a government agency, bank investigator, employer, romantic interest, or investment adviser. The Canadian Anti-Fraud Centre specifically cautions that crypto transfers generally cannot be recalled and lists requests to move funds to an alternate address as a warning sign in its guide to crypto investment scams.
What Happens After You Send Bitcoin
The sending wallet should display a transaction ID, sometimes called a TXID, shortly after broadcast. Copy that ID into a reputable Bitcoin block explorer to see whether the network has received the transaction and how many confirmations it has. This tracking does not expose your private keys. A block explorer reads public transaction data already recorded or waiting on the Bitcoin network.
If the receiving wallet shows nothing
First, confirm that the sender provides a TXID. Next, search that TXID and compare the destination shown by the explorer with the receive address from your wallet. If they match and the transaction is pending, wait for confirmation. If the explorer shows confirmations but your wallet has not updated, refresh or rescan the wallet, check its internet connection, and confirm you are viewing the correct account.
If you have not bought the Bitcoin yet, use the public list of Bitcoiniacs ATM locations to find a machine. Prepare your wallet receive screen before visiting and follow the on-screen purchase steps. Keep the receipt or transaction reference until the wallet shows the incoming transfer.
When a transaction remains pending
Confirmation times vary with network demand and the fee rate. A pending transaction is not automatically lost. Avoid creating a second payment to the same recipient just because the first one is slow. Check the TXID, then use only the fee-management tools built into the original wallet. If a service initiated the withdrawal, contact that service with the TXID and time of transfer, never with your recovery phrase.
Frequently Asked Questions
These questions are based on recurring beginner discussions in Reddit communities such as r/Bitcoin and r/BitcoinBeginners.
How do I transfer Bitcoin from one wallet to another?
Open the destination wallet, select Receive, and copy its Bitcoin address. In the sending wallet, select Send, paste that address, enter the amount, review the network fee, and verify the address before approving. Save the transaction ID and wait for the receiving wallet to show the pending transfer and confirmations.
Do I need to send a test transaction before a large Bitcoin transfer?
A test is not required by the Bitcoin protocol, but it is a sensible precaution when using a new wallet, device, or destination. Send a small amount, verify that it appears in the intended wallet, then send the balance. The trade-off is paying a second network fee, so weigh that cost against the transfer size and your confidence.
How long does a Bitcoin transfer to a wallet take?
The destination may recognize an on-chain transaction within seconds or minutes, but confirmation depends on network demand and the fee rate. One block often arrives in roughly ten minutes on average, though an individual confirmation can be faster or much slower. Some custodial services wait for multiple confirmations before updating an available balance.
What happens if I send Bitcoin to the wrong address?
A confirmed Bitcoin transaction cannot normally be reversed by a wallet company, ATM operator, or miner. If you know the recipient, ask them to return it. If nobody controls the destination on your behalf, recovery may be impossible. This is why you should copy the address from the wallet, compare it carefully, and use a test transfer when the stakes are high.
Learning how to transfer Bitcoin to a wallet is mostly about building a reliable checking habit. Create the address in the receiving wallet, confirm the network, compare the pasted destination, review the amount and fee, and keep the TXID. With those steps in place, moving Bitcoin becomes a straightforward process rather than a leap of faith.